How to Grow Ranunculus
One of the most popular flowers right now in the modern florist and wedding flowers world has to be ranunculus.
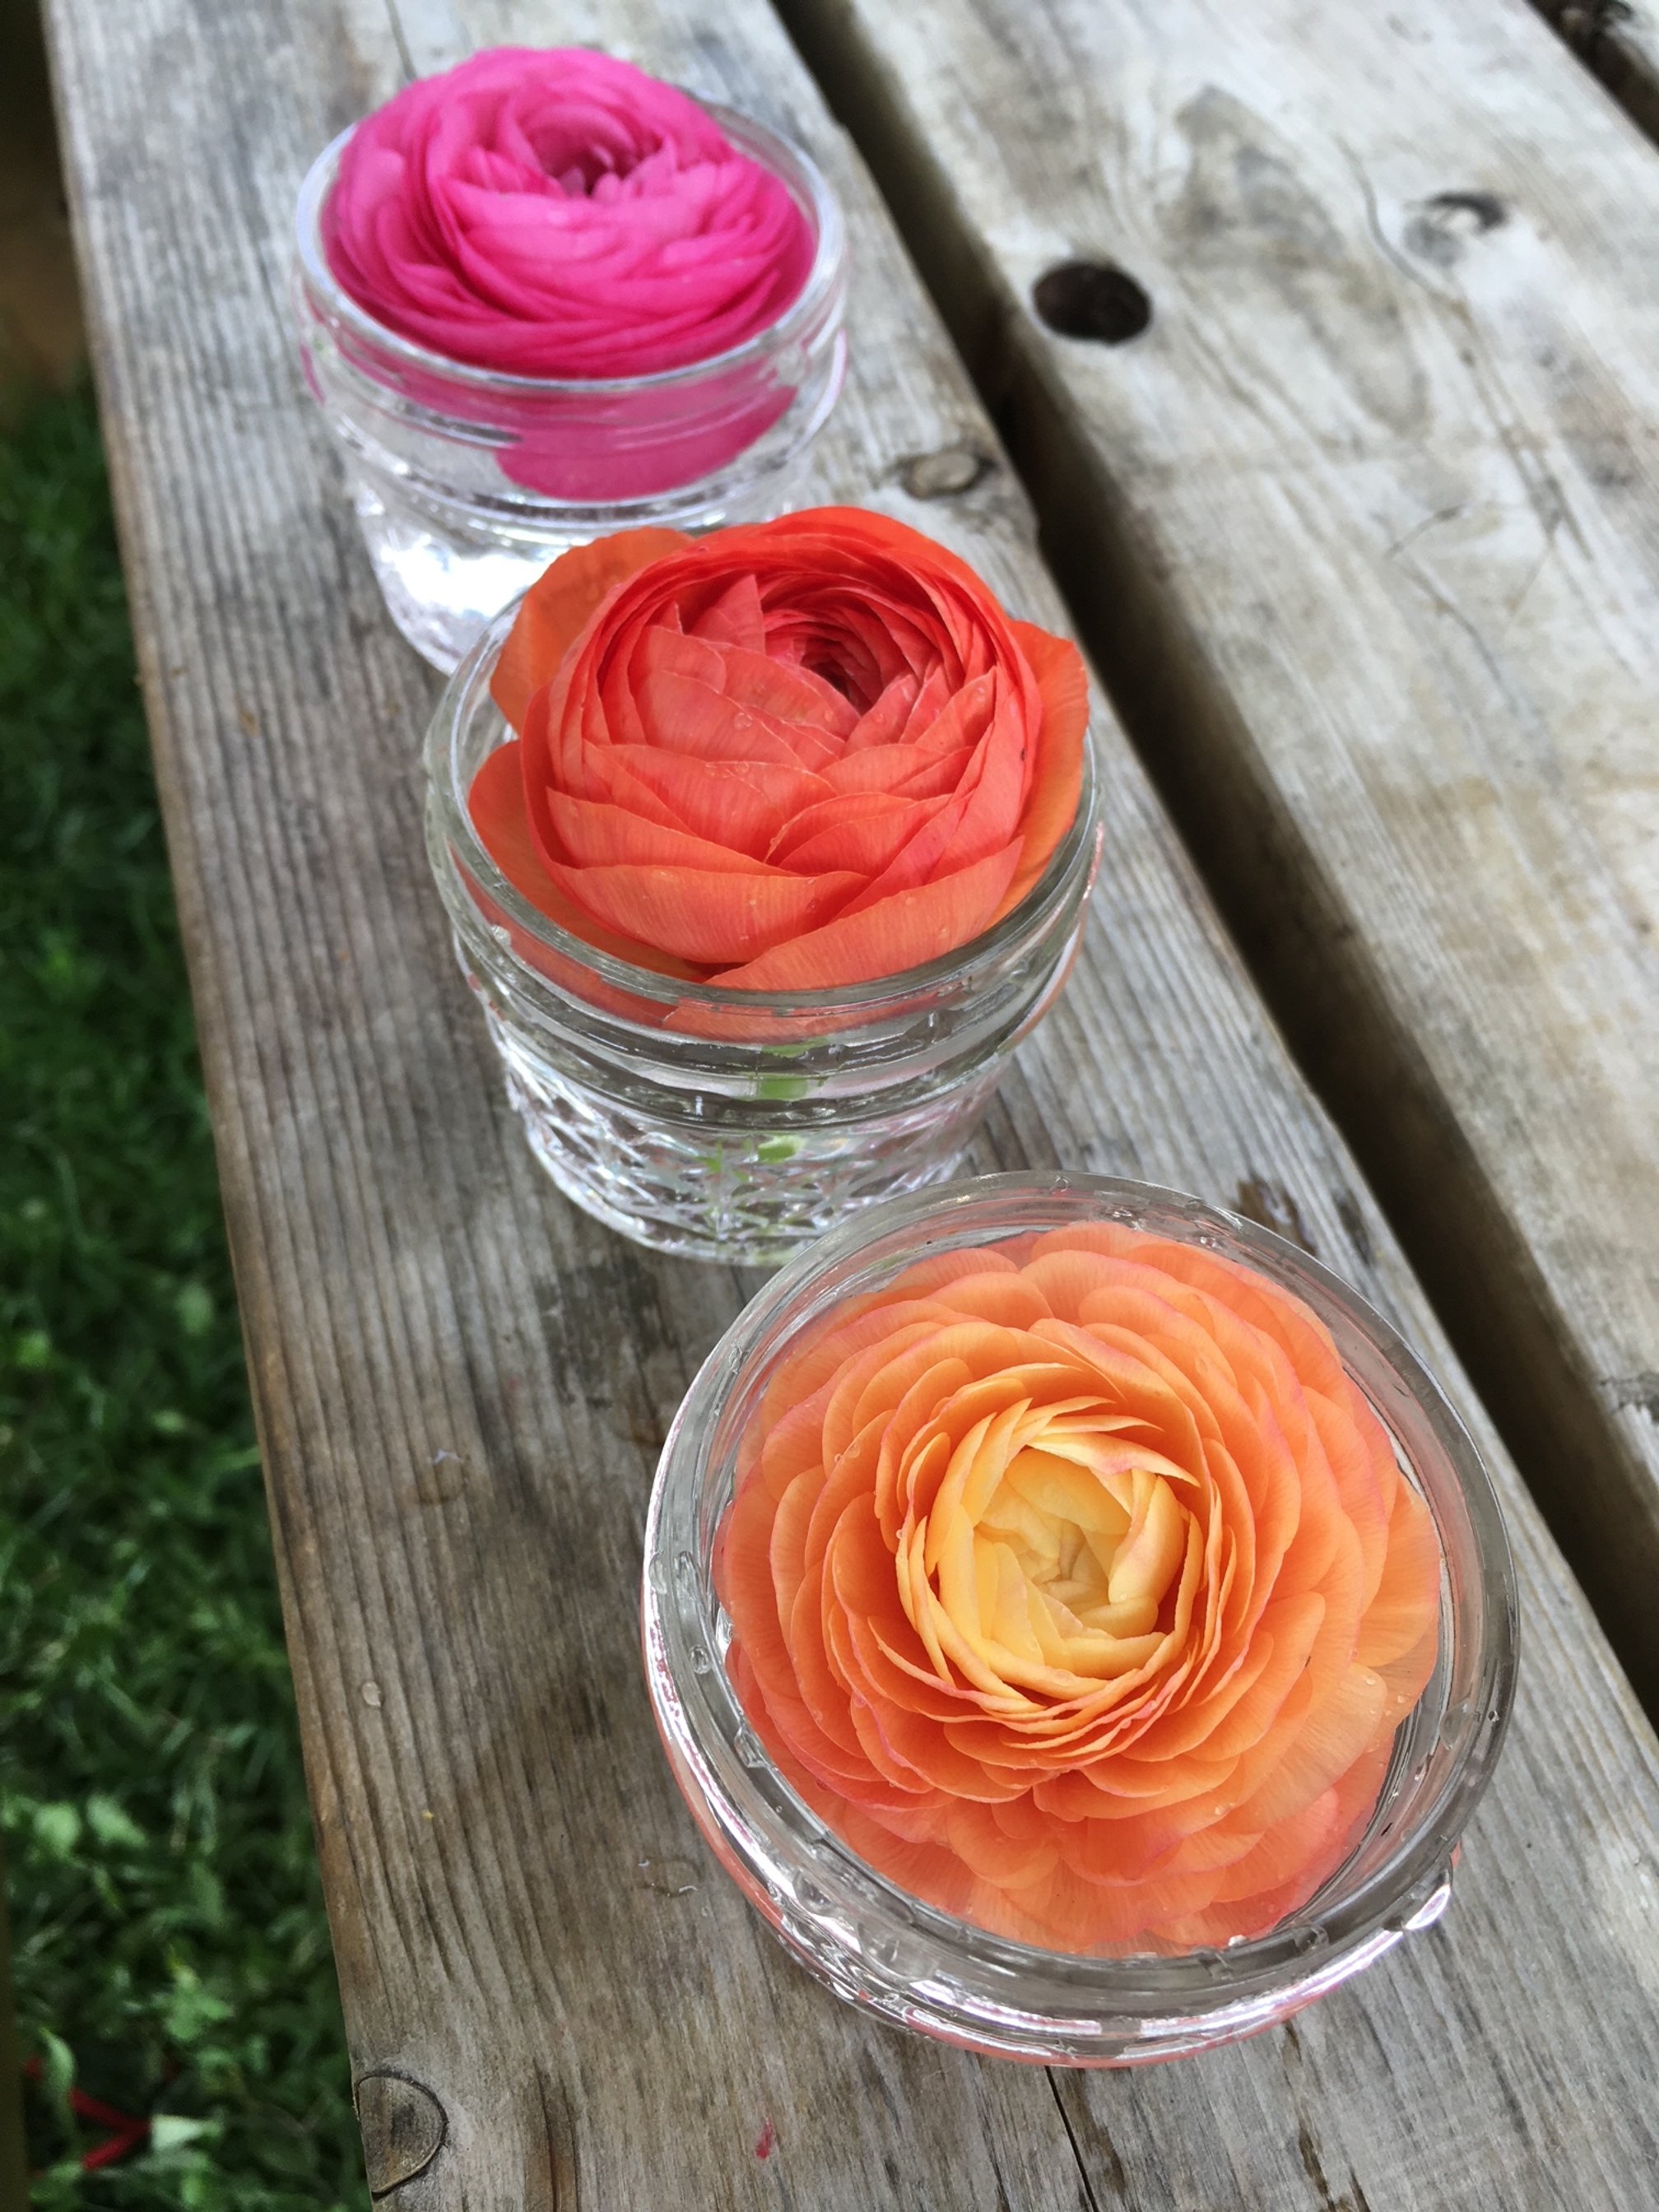
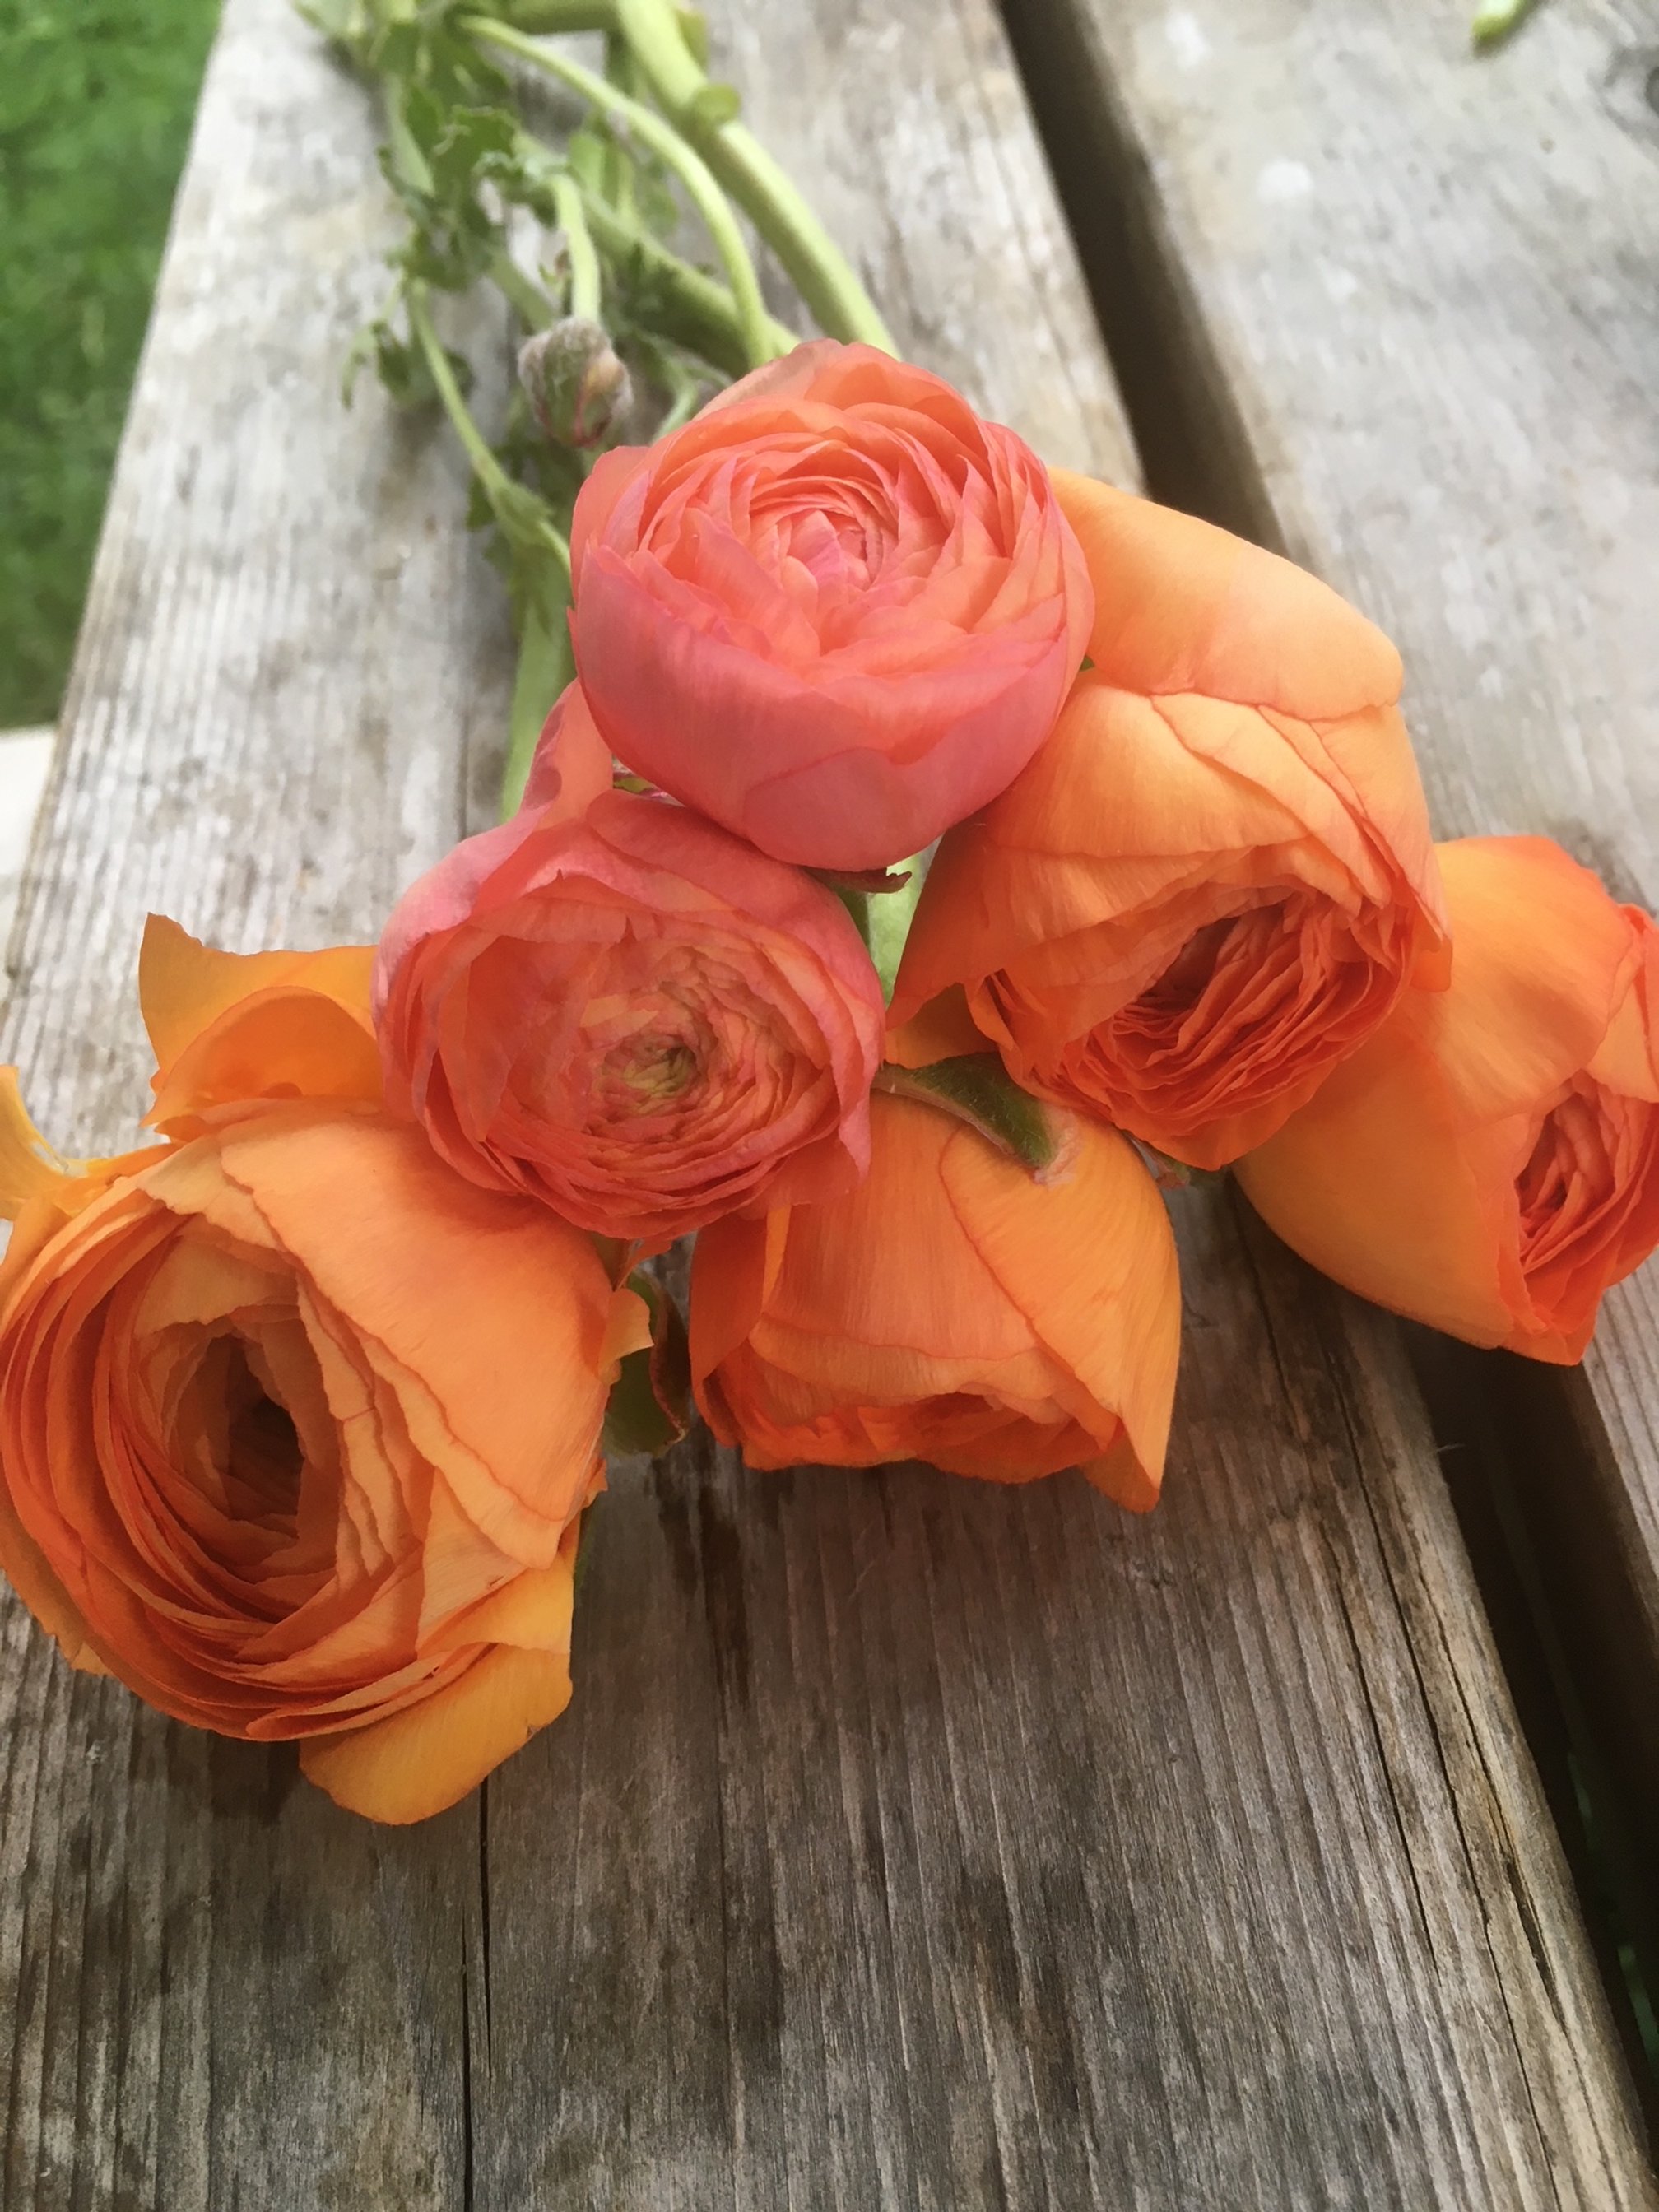
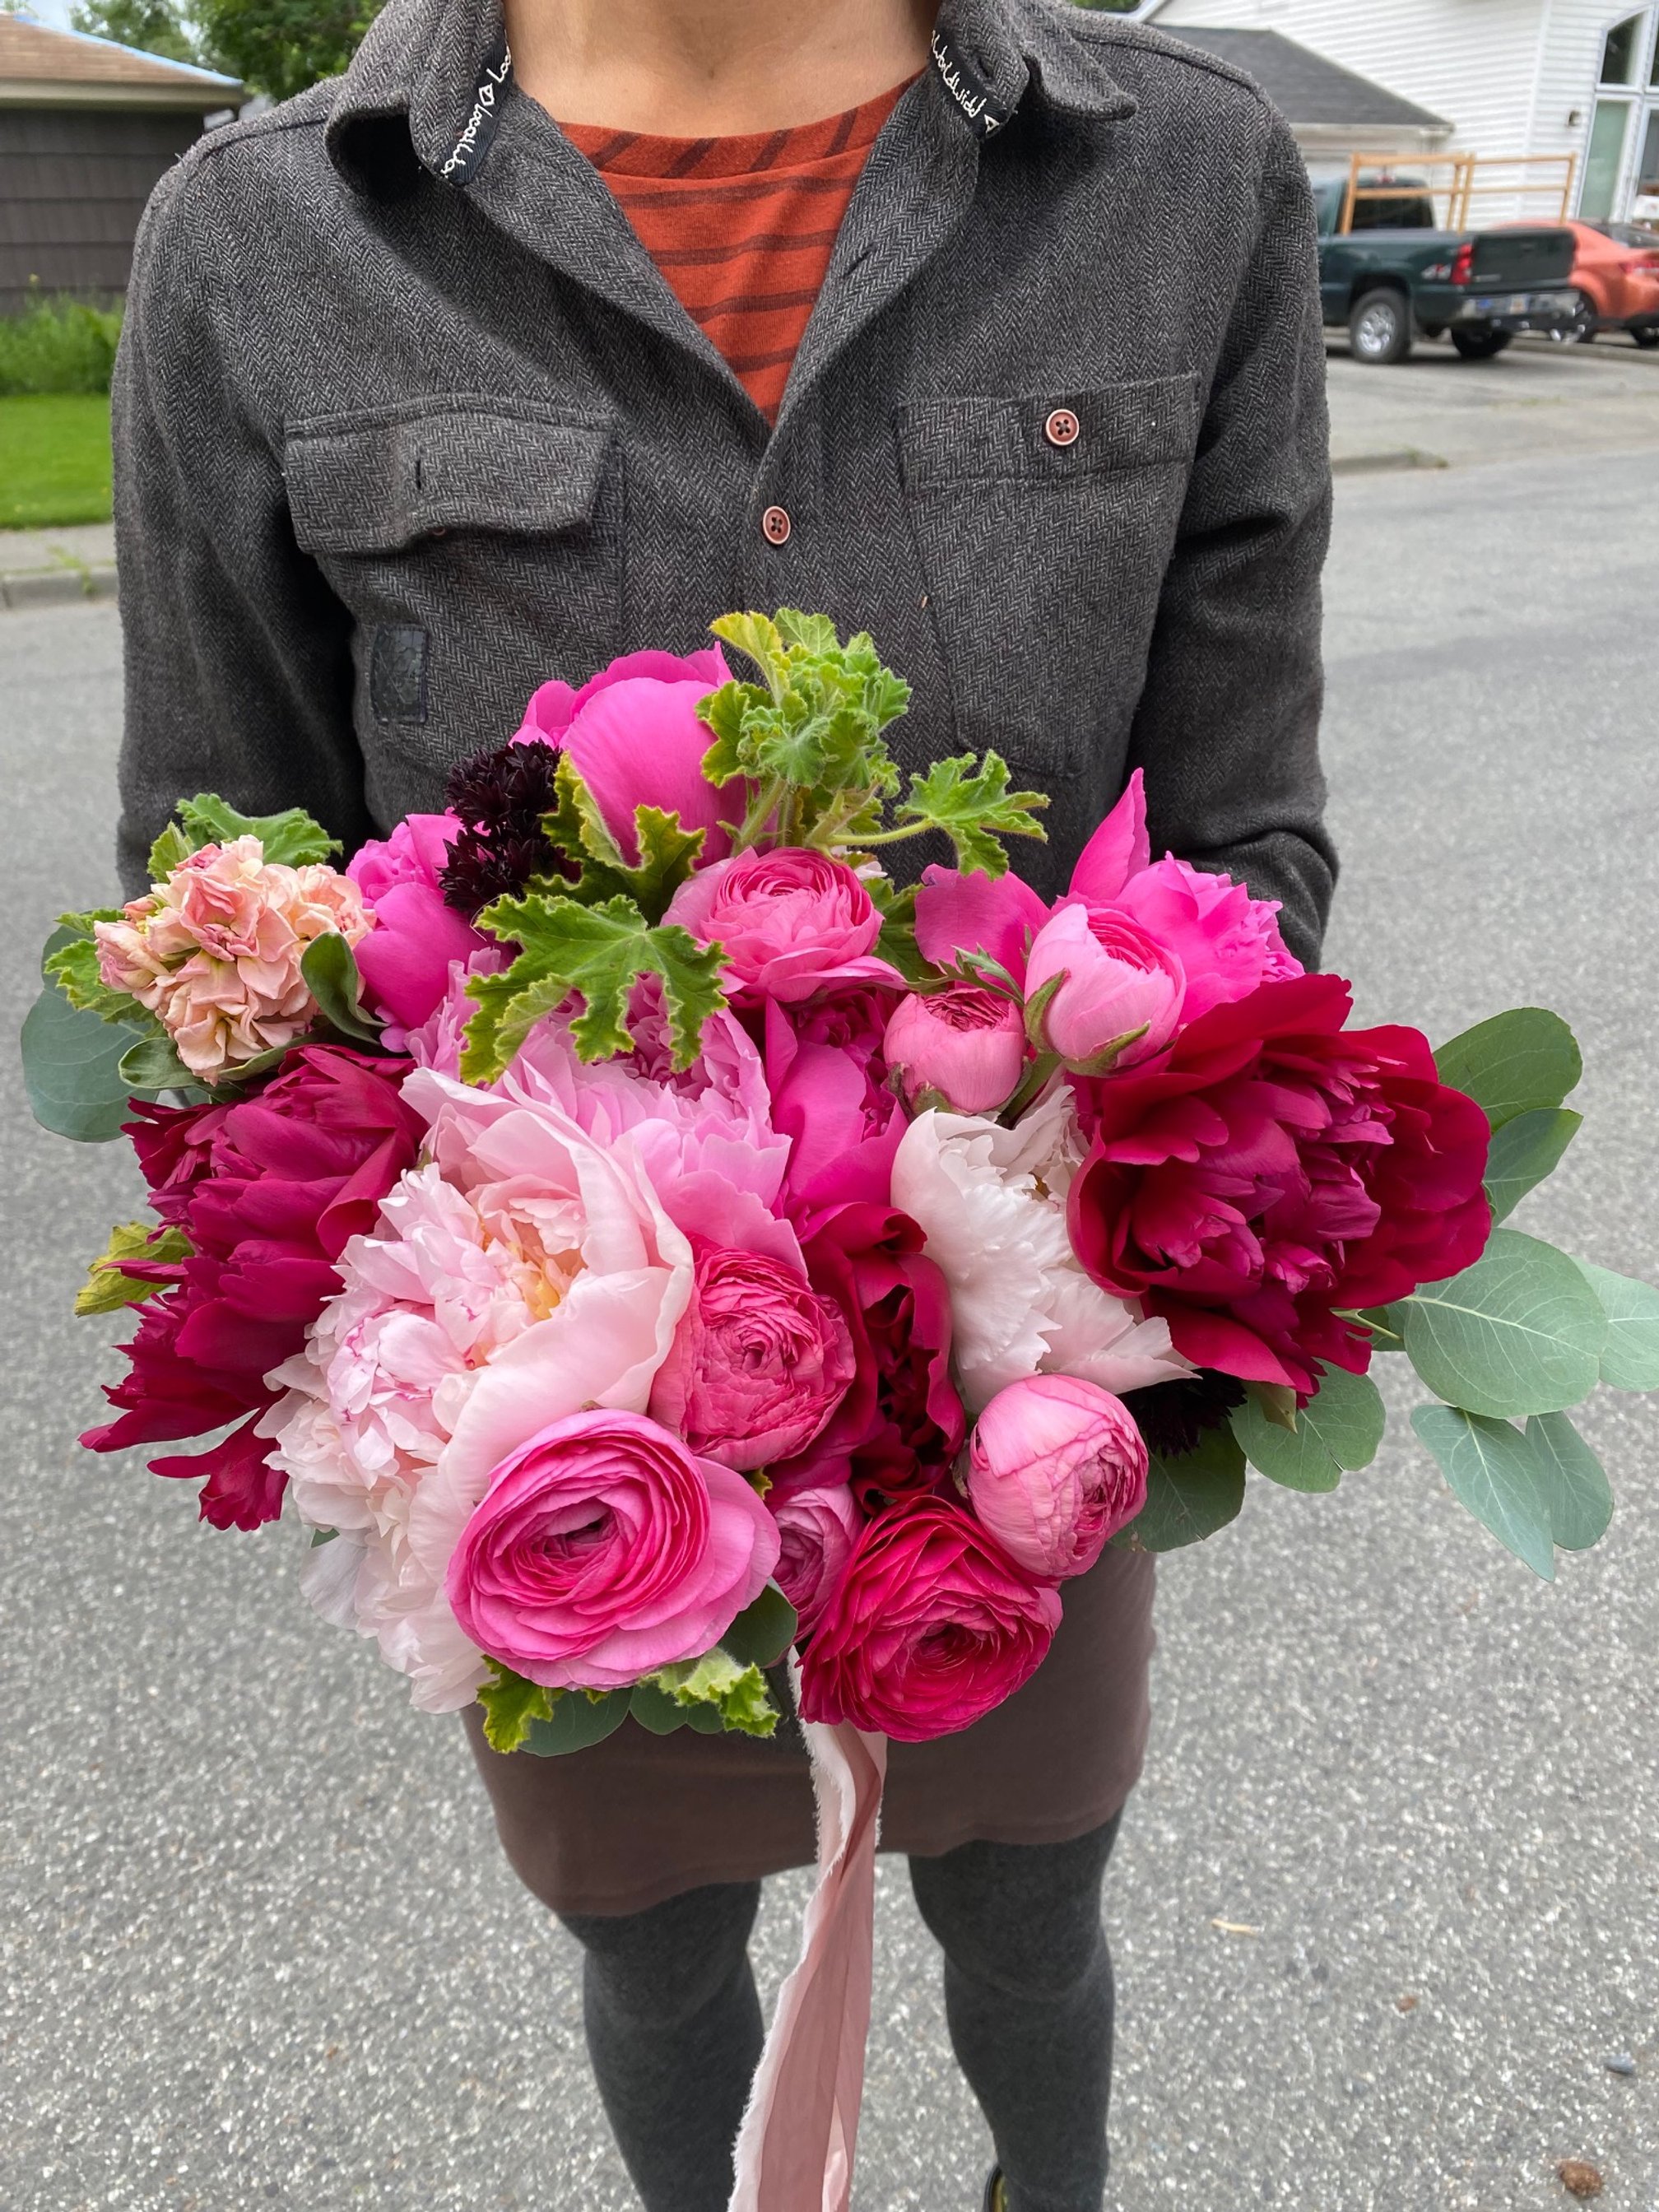
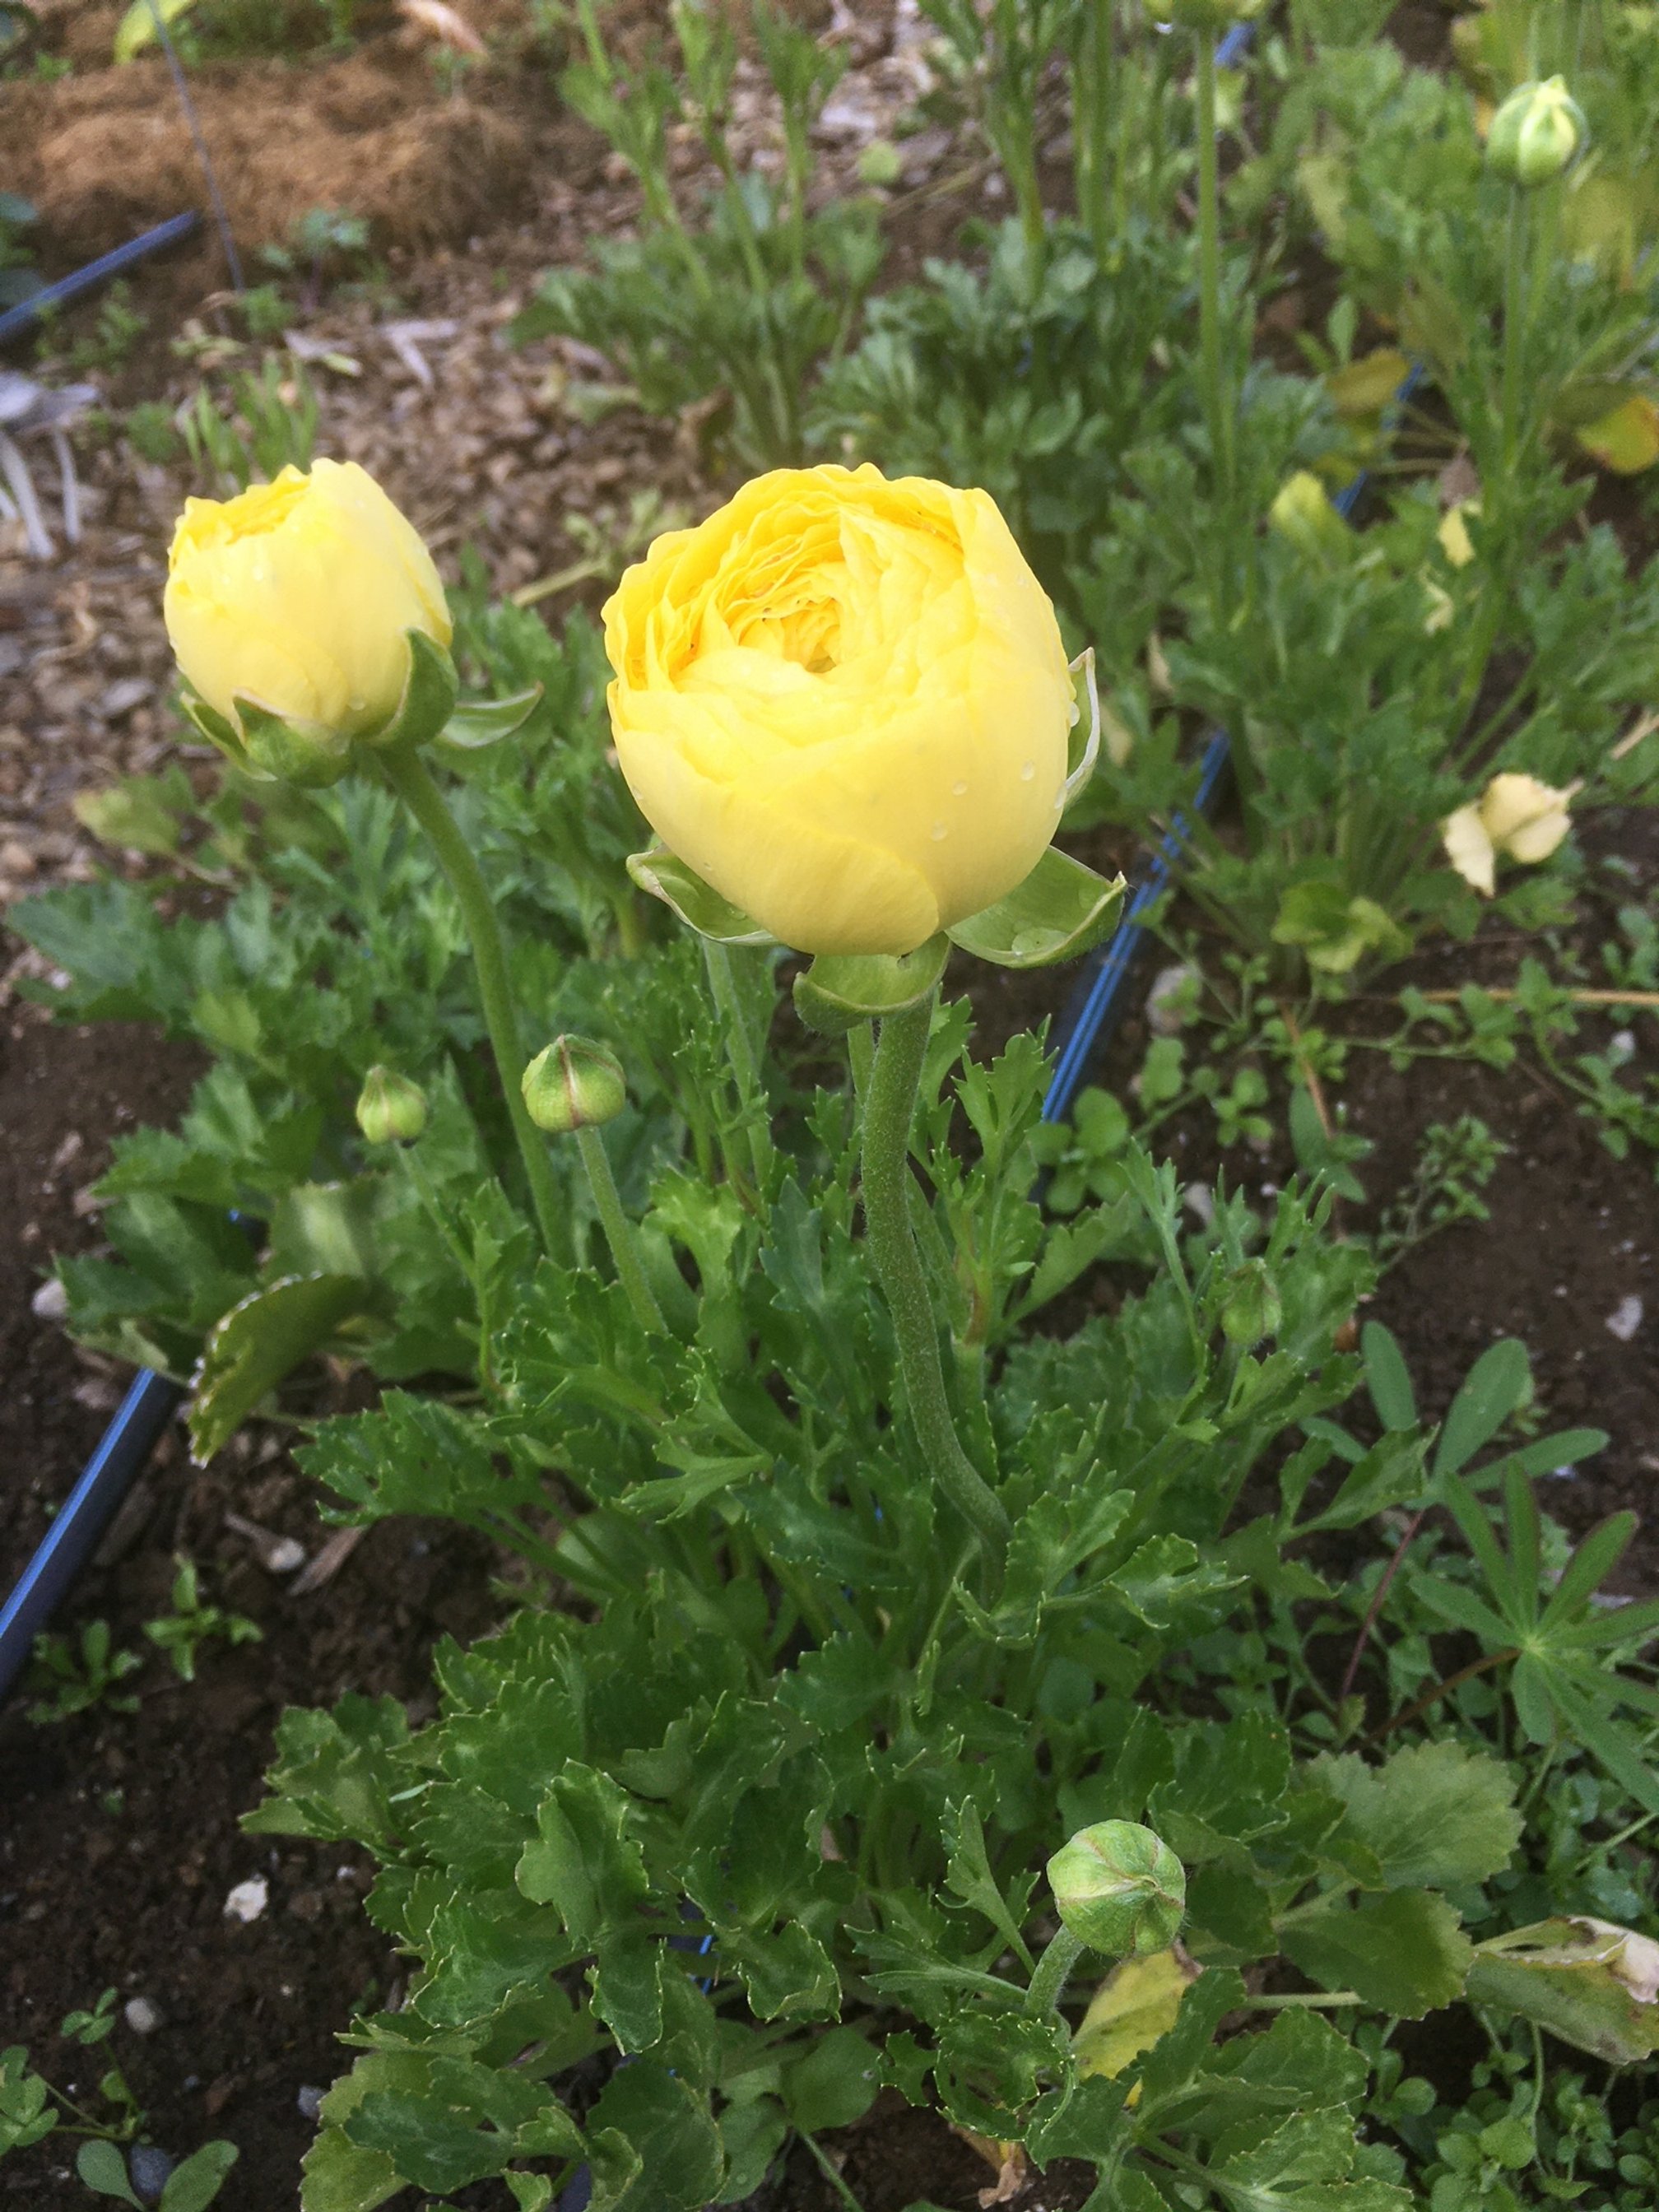
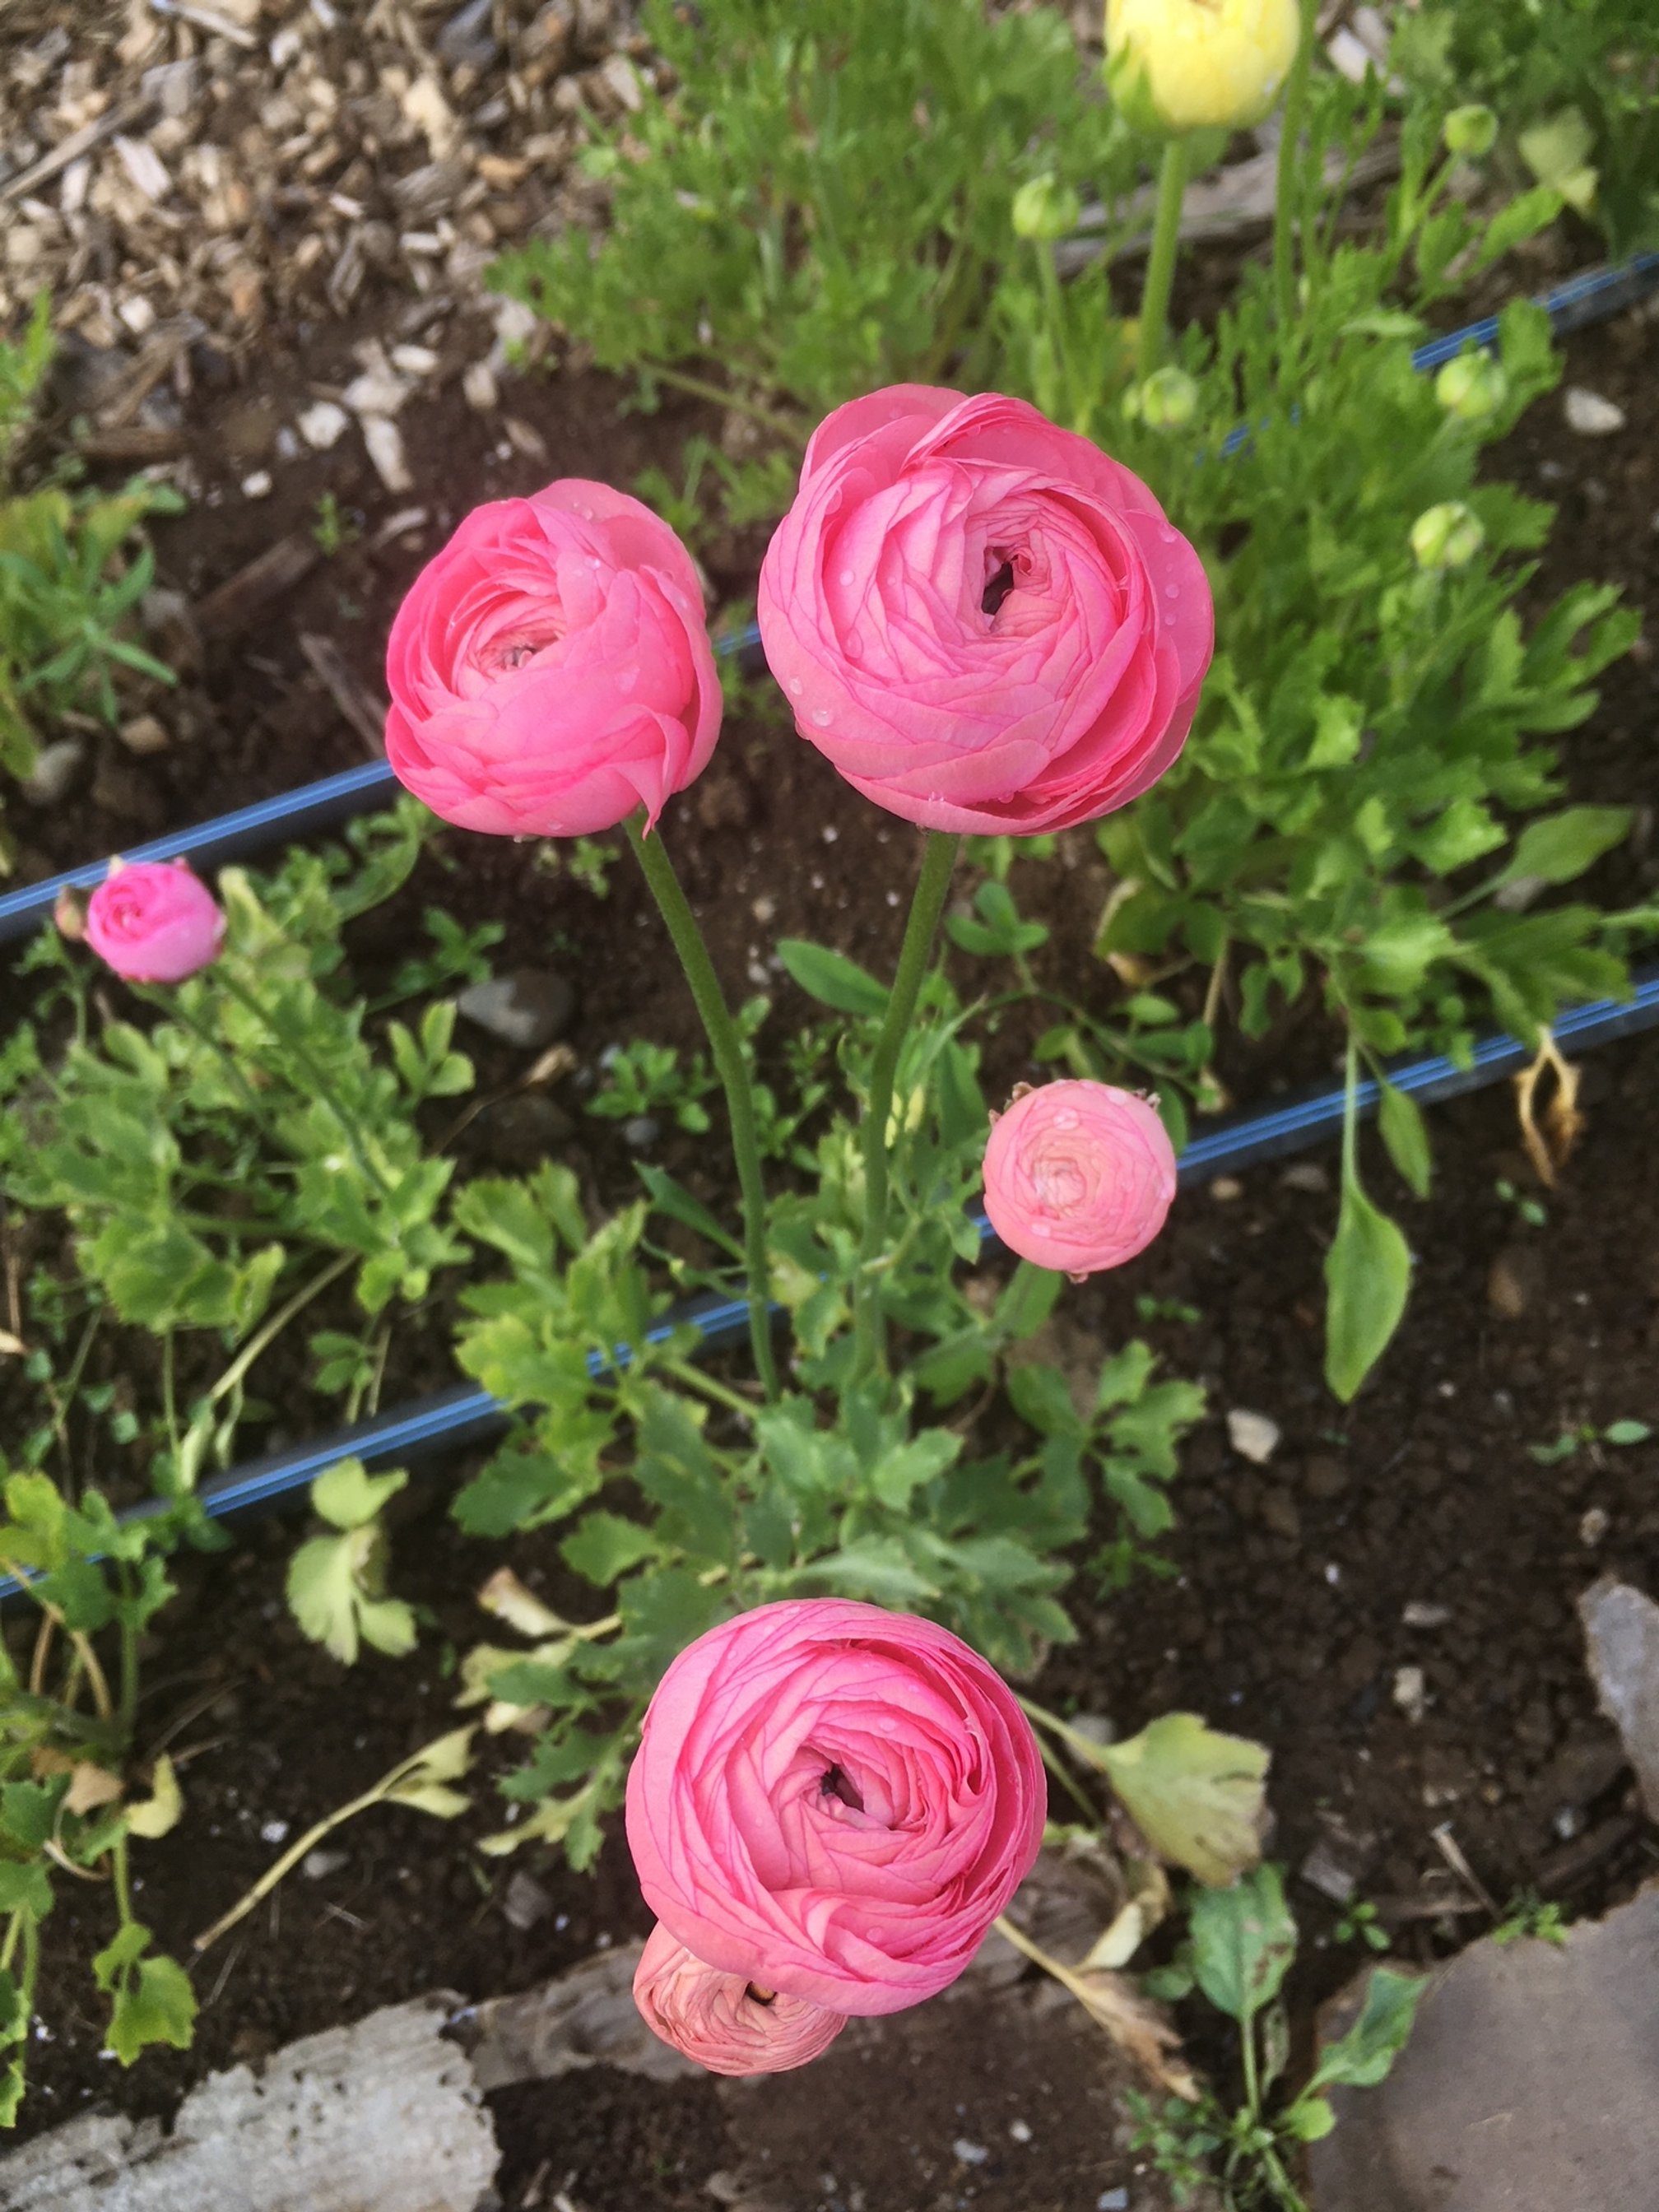
And for good reason! These beauties are amazing. They have this multi-petaled rose-like quality and they last forever in the vase, especially when grown locally (like in your backyard).
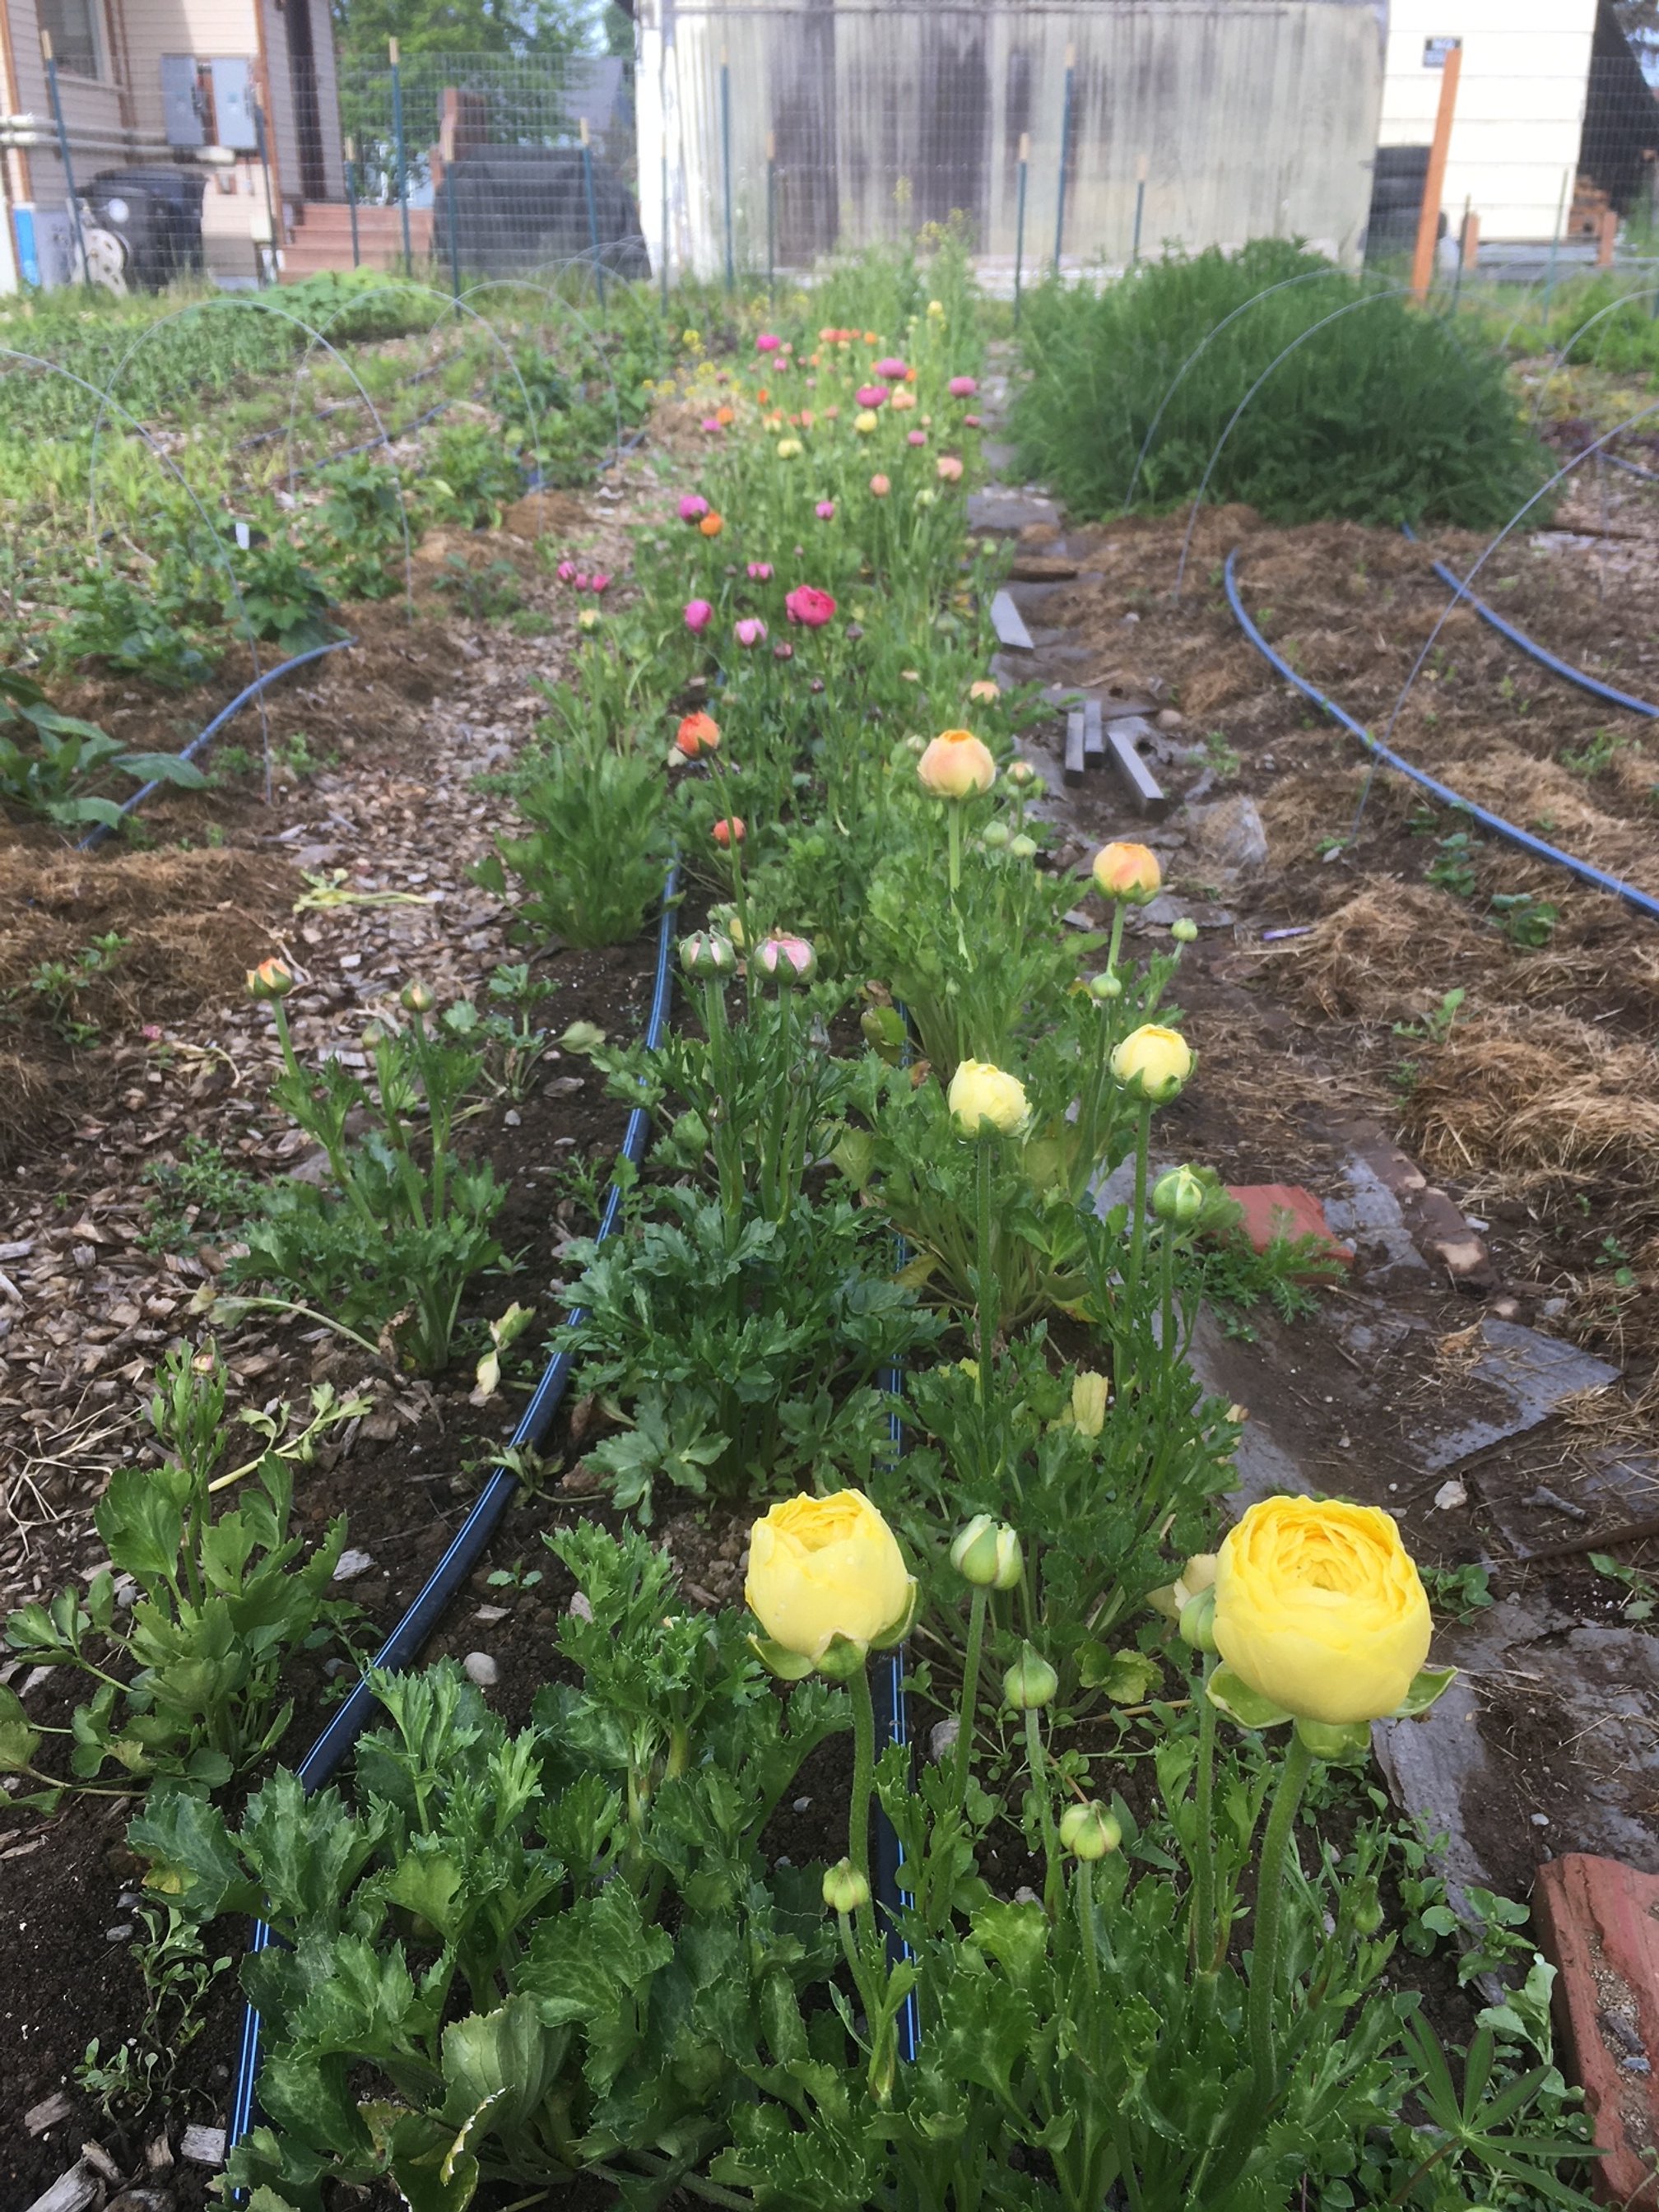
Plus, as garden flowers, they are so bright and beautiful! I want to see these growing in more gardens around town.
I do consider these a more advanced flower to grow, mainly because the process of starting these is a bit different than other cut flowers.
But do not fear! I am here to walk you through the entire process. From ordering corms to harvesting blooms for the vase.
So let’s jump right in.
Where do I get ranunculus corms?
Since ranunculus is started by corms (root matter saved from the previous year’s growth), you must first source and order these.
I sell a mixed bag of 20 corms each spring. Be sure to hop on my email list HERE in order to get first dibs on all my sales. For 2023 I am selling Picotee varieties in purple, orange, and pink. I order hundreds of corms each fall and save my own varieties from year to year, so I end up with plenty to share.
If you’re looking for other varieties check out Ferna Farms. They are another small farm offering these awesome corms to home growers.
When do I start ranunculus corms?
I start all my ranunculus about 2 weeks before planting out.
My plant-out date will be early May, so I’m starting all my corms the 3rd week of April.
Once sprouted, these guys grow fast! Plus, they do well in cooler temps, so if covered, they can weather a few touches of frost.
How do I start them?
First, you’ll need to soak your corms.
What the heck does this mean? It simply means, popping your corms in a bucket, adding cool water, and letting them sit for about 4 hours.
Some farmers recommend gently agitating the water while they are soaking (using a fish tank bubbler or leaving a stream of water running). I’m here to say, I’ve done it without any agitation and everything turns out OK.
Once properly soaked, they will look relatively plump. Now you’re ready to pre-sprout.
Pre-sprouting consists of layering a grow flat with potting mix. I use ProMix seed starting mix (ideally organic if I can find it locally).
Once a layer of the mix is in the flat, place your corms root-side down in the tray. If you think of your corms as little octopuses, the “tentacles” go down.
You can place them pretty close - I do about 2 finger-widths apart. Then, cover them with soil.
Lightly water (err on the side of too dry than too wet otherwise your precious corms may rot) and place somewhere dark at room temp.
Check these daily. Once they have started to grow green shoots out of the soil, it’s time to place them under lights at about 16 hours/day or if your garden beds are ready for them, it’s time to plant.

Planting soaked corms in seed starting mix for pre-sprouting.
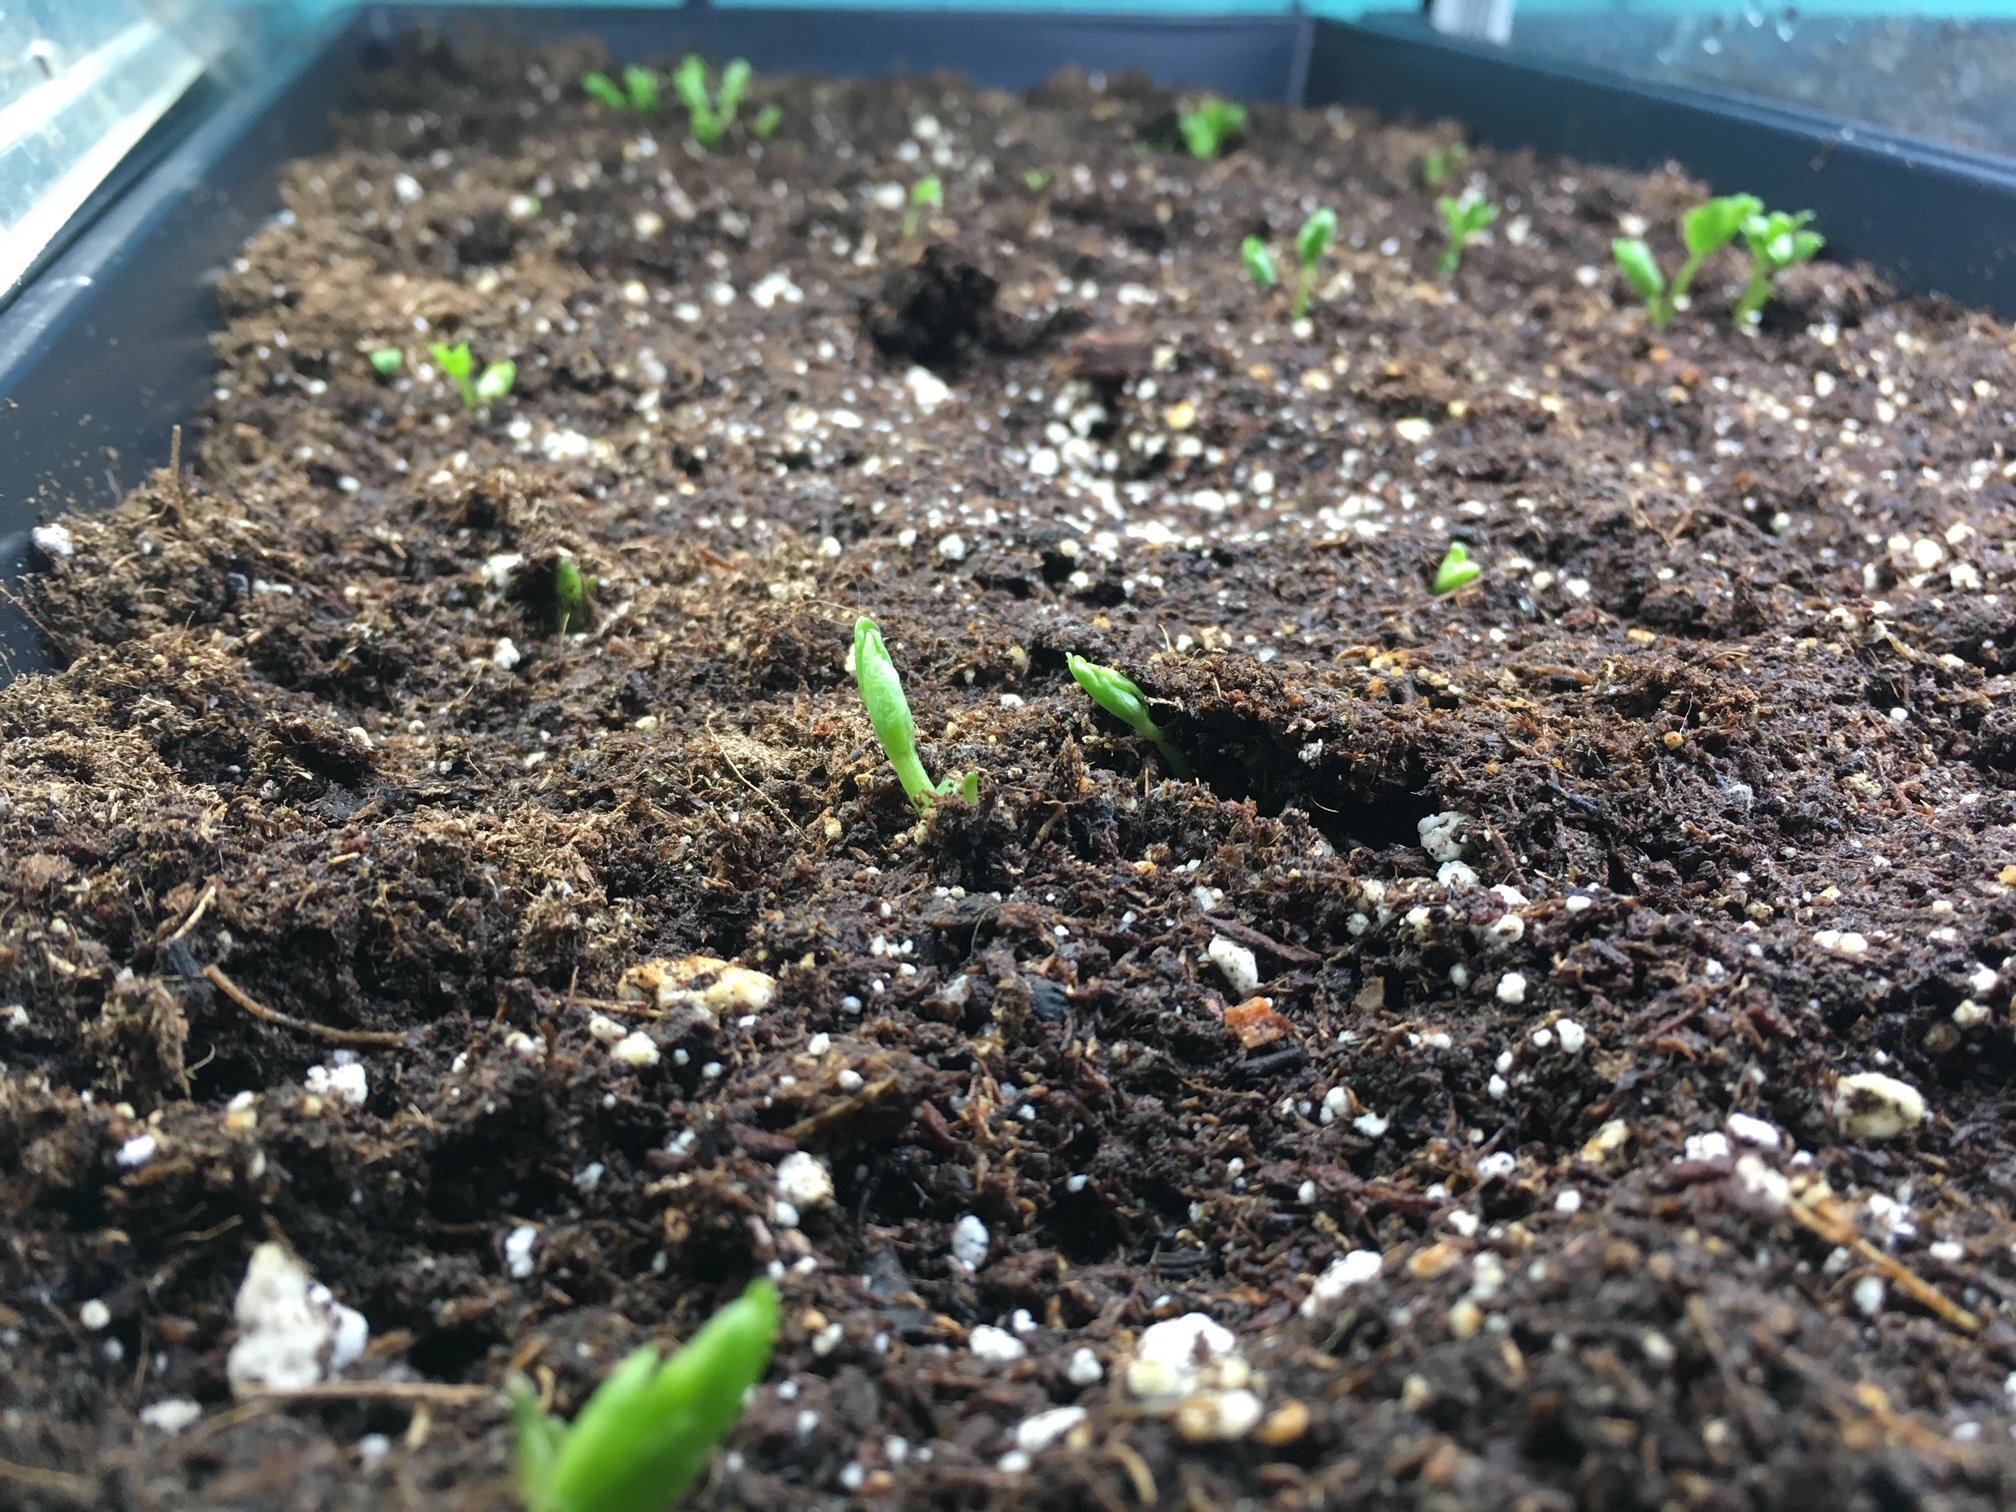
Ranunculus beginning to sprout and grow under lights.
How do I plant ranunculus in the garden?
After pre-sprouting your ranunculus, they are ready to plant in the garden. Gently loosen each corm from the potting mix, dig a shallow hole, and place them in your garden bed. I plant mine about 9'“ apart.
They will benefit from a general-purpose organic fertilizer and bone meal application at planting time.
How do I tend my ranunculus plants?
Ranunculus care is similar to other cut flower care. As they can grow taller, they will be susceptible to wind and heavy rain. I suggest staking or netting them in your garden. Or at least, planting them in a sheltered location, out of any spring or summer winds.
How do I cut my ranunculus for the vase?
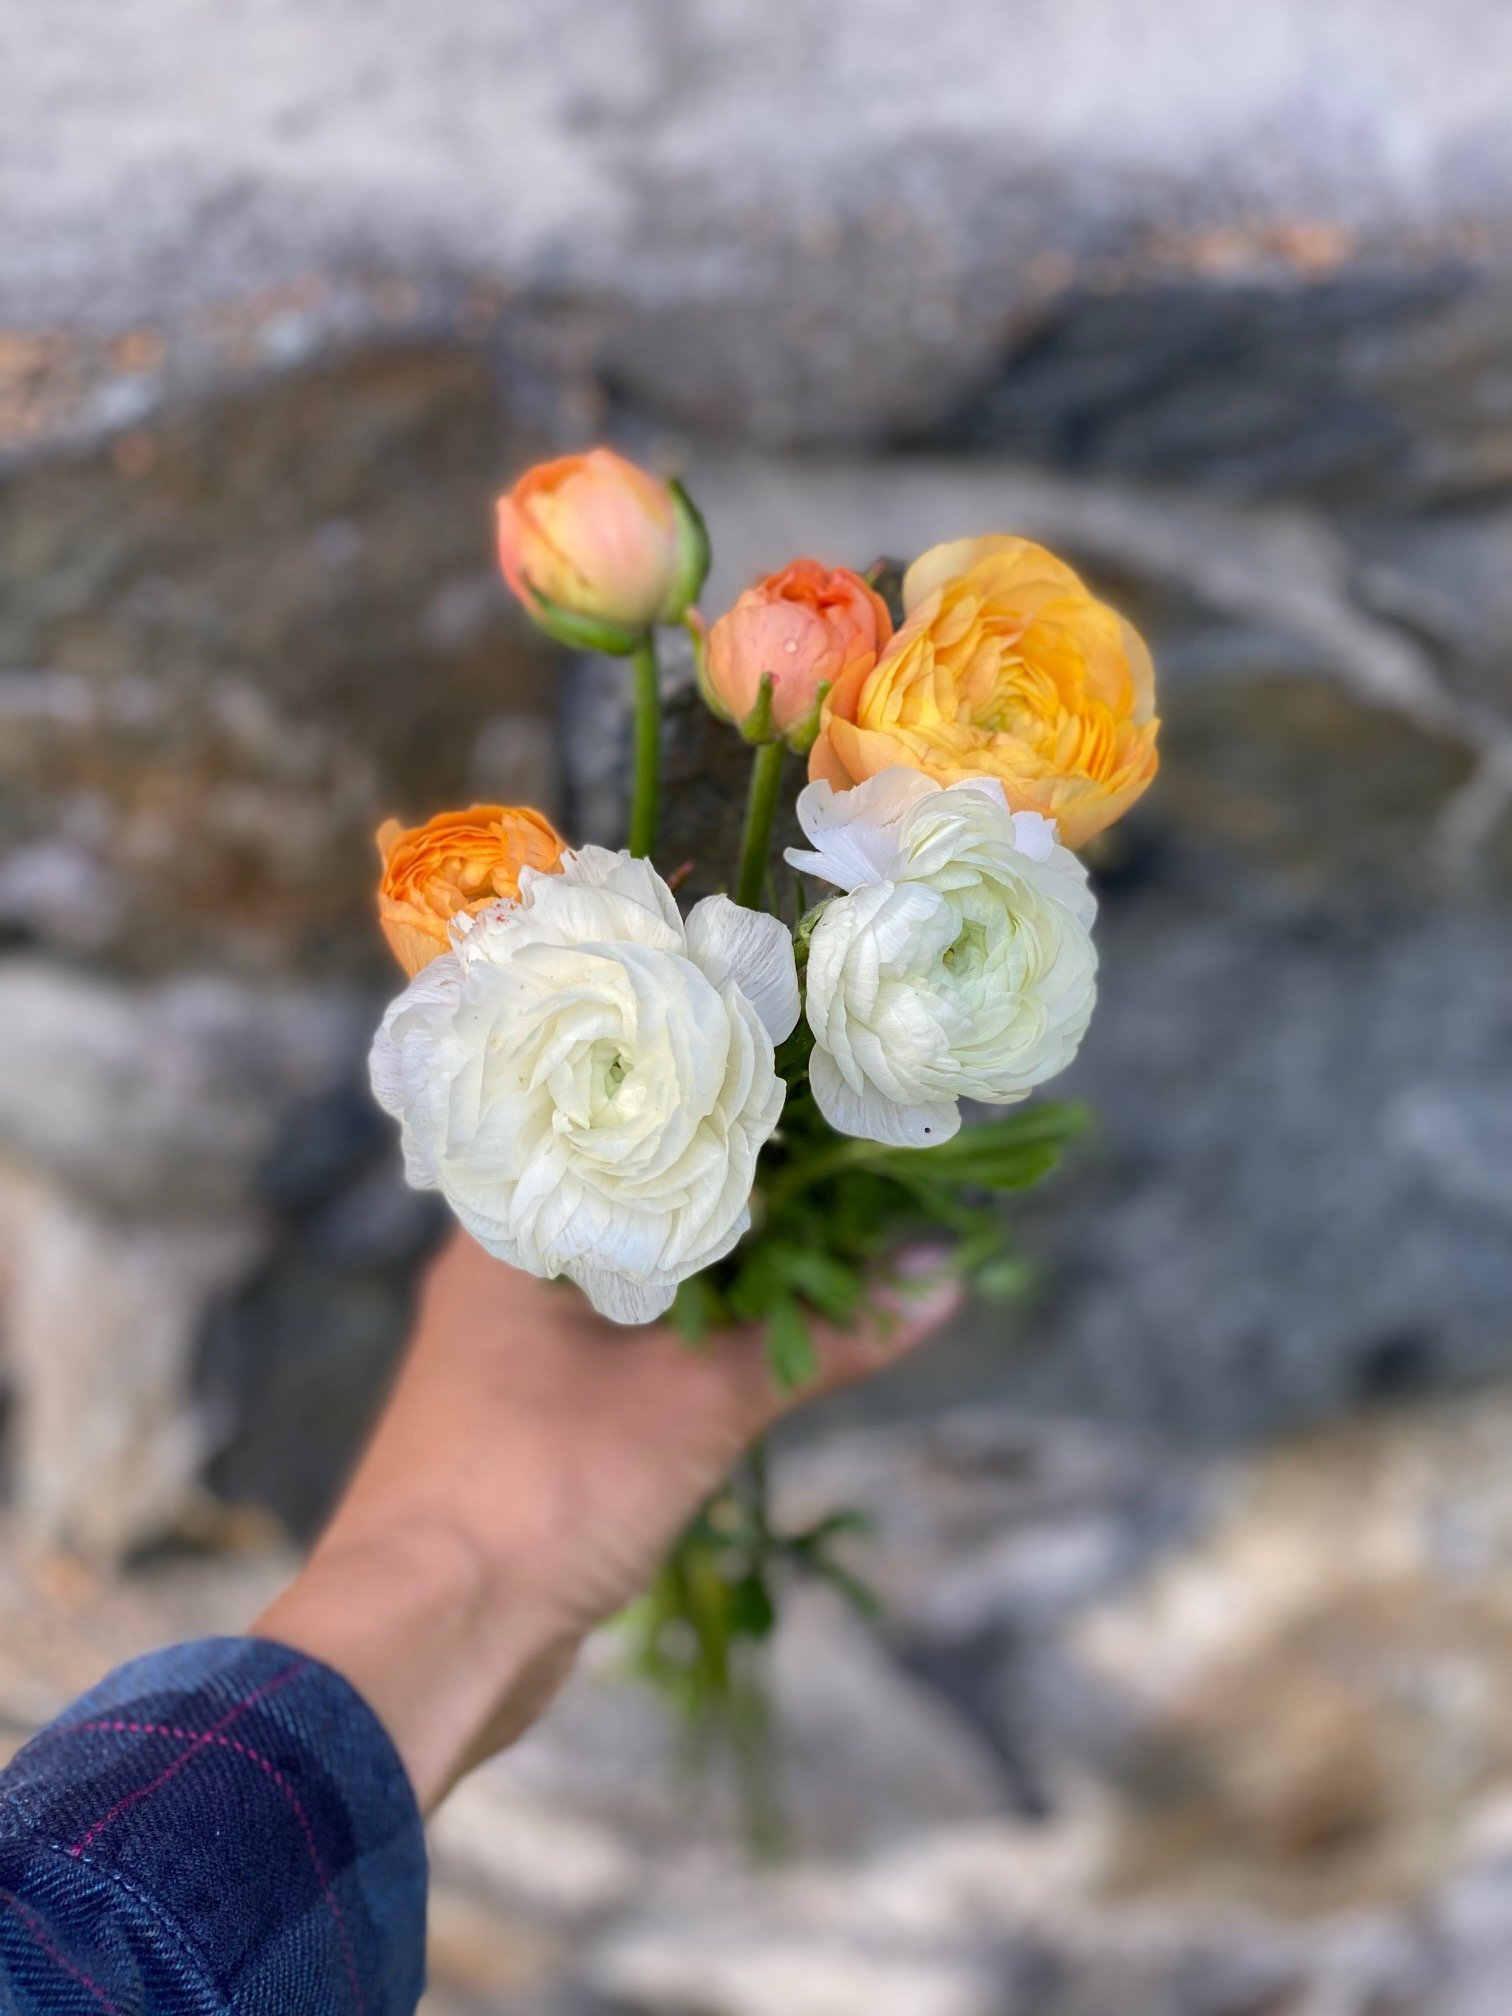
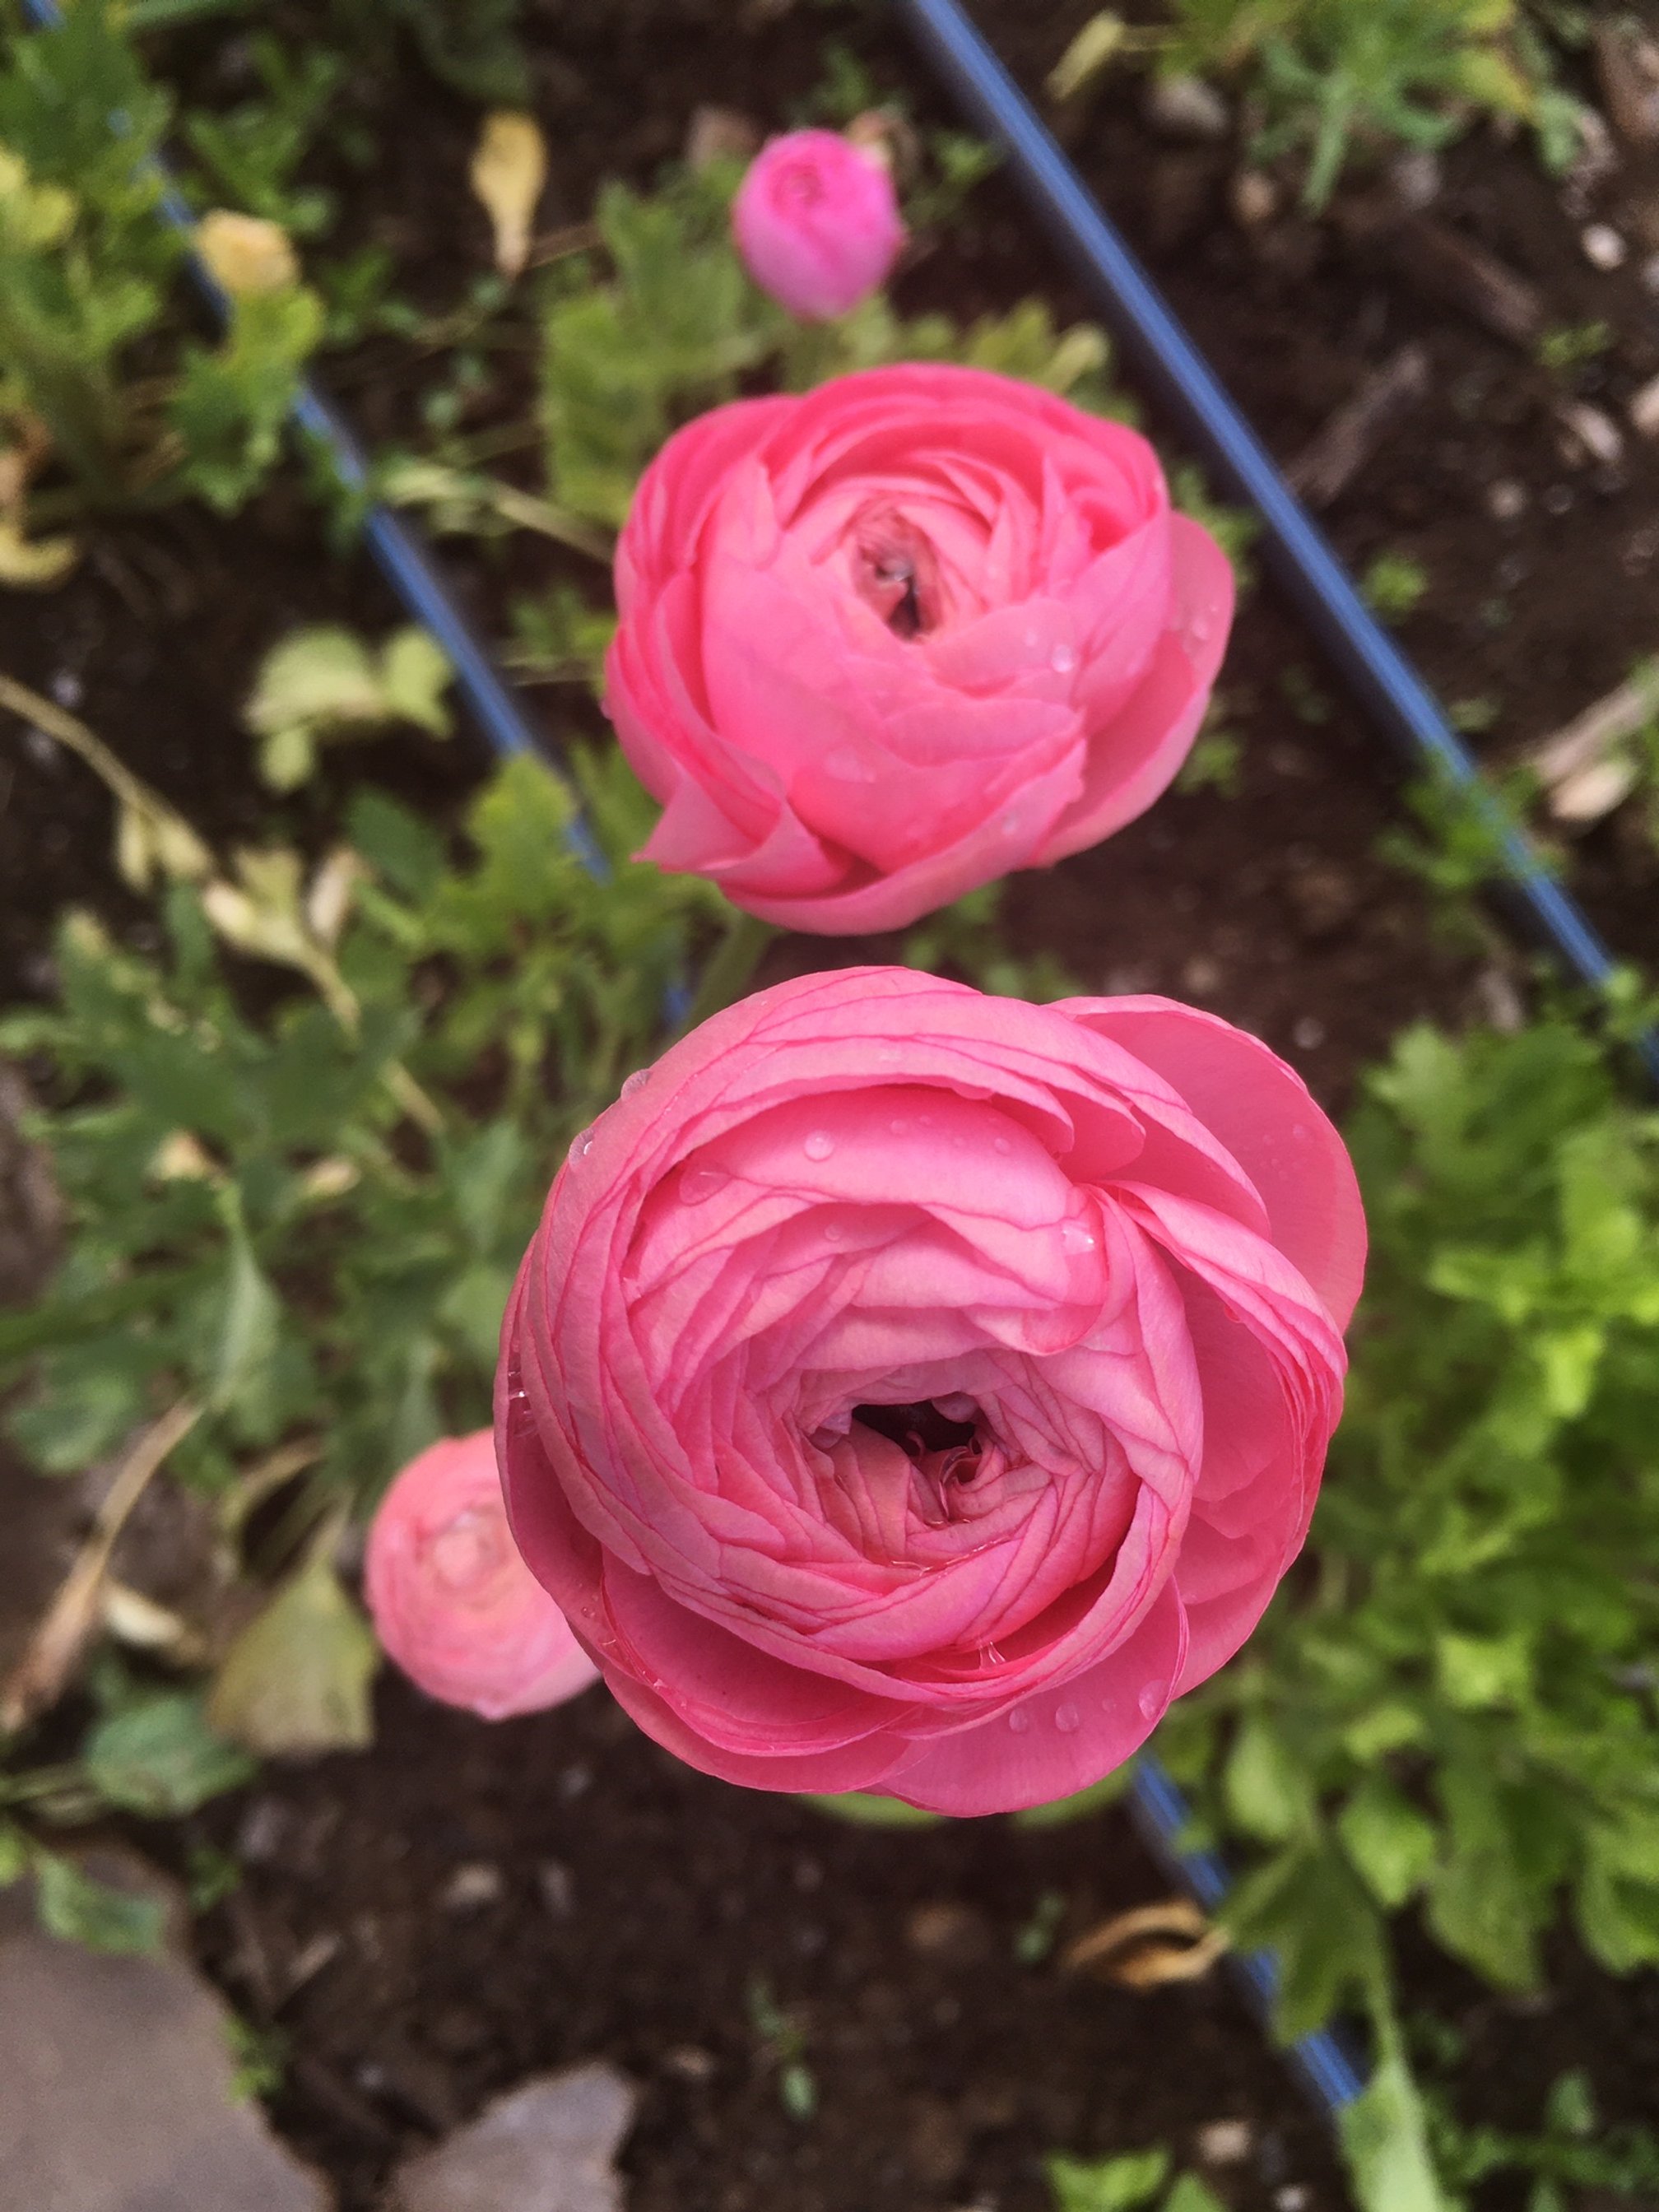
Ranunculus is cut as soon as the flowers reach the “soft marshmallow” stage. If harvested too soon, they will not open. You can wait until they are fully open to harvest but their vase life will be diminished slightly.
Please know that you don’t have to cut for the vase. Ranunculus looks gorgeous in the garden! And they bloom prolifically until the heat of the summer comes on strong.
SPECIAL NOTE ON GROWING A FALL RANUNCULUS CROP:
I learned this technique from a farming friend in Norther Alberta who has similar summers to where I grow.
Since the first planting of ranunculus will most likely peter out in late July, I loved the thought of a second planting. Last year I tried it for the first time.
Here’s what I did:
I saved about half my corms (you can just hold them at room temperature in a paper bag).
Go through the same steps of soaking and pre-sprouting starting in mid-June.
Plant in the garden once they have pre-sprouted and tend normally.
If you live in an area with cooler summers, you will be blessed with a late crop that will bloom until the first frost!